Wednesday 29 September 2010

Cake, Cake, And One More

I know I said that there was an imbalance of sweet to savoury in the blog recently, but having baked three cakes, I thought it was probably worth blogging about it.

I promise to put at least one savoury recipe up at the weekend. My brother might be coming over to stay and wants to put some practice in for a food course he's taking, so that'll be a decent excuse.

And so to the cakes...

***

I had been fancying some yoghurt cake yesterday, and thought that I'd probably make one that evening after work and bring it in for the staff - it usually goes down well. Having some dietarily challenged folk in the office (coeliacs), I decided to also bake a gluten and dairy free cake for them too.

Having run this idea past my colleague, Sammy, she had the audacity to complain that there was no chocolate cake, so I also put together the ingredients last night for 'THE' five minute chocolate cake for her to put together at work.

***

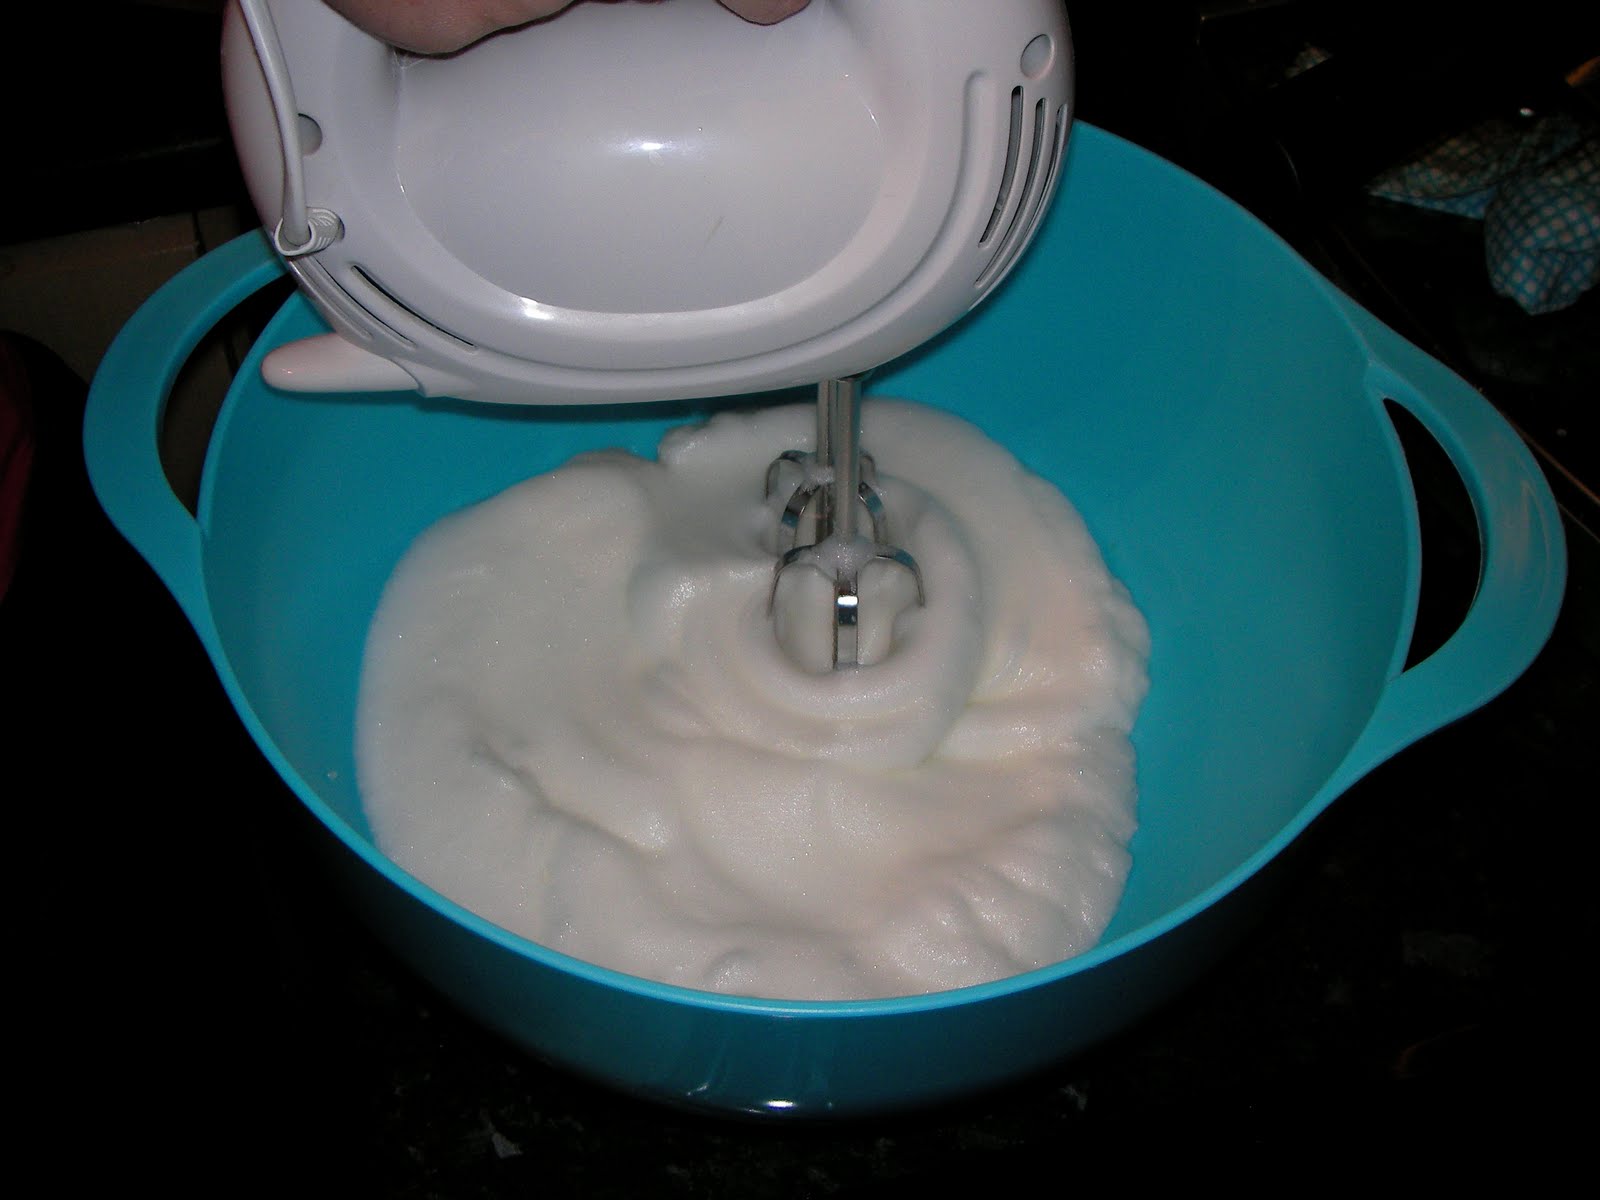
Starting with the glutenitis cake - a banana loaf - you will need (picture below is for all three cakes - don't worry!):

- 1 cup buckwheat flour
- 1 cup rice flour
- 1/2 tsp salt
- 3 tsp baking powder
- 250g butter
- 1 3/4 cups sugar
- 3 bananas
- 2 eggs

Buckwheat flour and rice flour are fairly readily available these days. If you can't find either in the shop though, fear not. The recipe can be made completely with rice flour - and you can make this at home too! Simply buy a bag of rice and grind it down very, very finely until you have rice flour. Simple as that. This is a cheaper way to buy rice flour, but obviously more time consuming and messy.

First mix together the two types of flour, the salt, and the baking powder in a large mixing bowl.

In a separate bowl, cream the sugar, butter and bananas together until smooth. At this point mix the two eggs in thoroughly.

Now combine the dry and wet mixtures well and pour the resulting batter into a loaf tin.

Whack the lot into an oven preheated to 180°C for about an hour. If the top of the cake starts to burn while baking, loosely but carefully cover with tinfoil. The cake will continue to bake, but will not burn at the surface. To check if the cake is baked all the way through, insert a skewer in the middle, and if it comes out clean then the cake is ready.

Remove from the oven and cool in the tin for about ten minutes before turning out.

***

Second up was the yoghurt cake. This cake works best when using citrus fruit yoghurts or toffee yoghurts. I would imagine vanilla would be okay, but the flavour from most other fruit yoghurts is not as good (though will still work fine).

Another loaf cake, this is again a simple and easy to bake cake.

You will need:

- 3 cups self raising flour
- 1 cup sugar
- 1 tsp baking powder
- 1 cup oil
- 2 eggs
- 1 yoghurt (I use the large, round, Muller pots - about 190g)


Once again, start by combining all the dry ingredients in a large mixing bowl.

Form a well in the dry mixture before pouring in the oil, eggs and yoghurt.

Combine the lot, and once again pour into a loaf tin to be baked in an oven at 180°C for about an hour before removing and cooling in the same manner as above.

***

As I was taking the cakes to work the next day, I left them to cool for a further half an hour before wrapping in tinfoil.

I then turned my attention to the five minute chocolate cake for Sammy.

This cake offends all my sensibilities as it is cooked in a microwave, but when thinking of a quick to make, one-person chocolate cake that Sammy could make at work, it really is the only one for the job.

You will need:

- 4 tbsp flour
- 4 tbsp sugar
- 2 tbsp cocoa powder
- 1 egg
- 3 tbsp milk
- 3 tbsp oil
- 3 tbsp chocolate chips

I prepared the dry ingredients in advance to take to work for Sammy, and also brought a bottle of oil. We have milk at work, so I used what was in the kitchen.

At lunch time we went to the kitchen to prepare this masterpiece of lightning speed cookery.

Taking a large mug, Sammy cracked the egg into it before pouring in the oil and milk.

Mixing all that together, the dry mixture was then poured into the mug and thoroughly mixed. You should end up with a syrupy, gooey looking batter.

Make sure it's mixed thoroughly so that the chocolate chips are evenly distributed.

Once done, stick it in a high power microwave at nuclear settings for about three minutes. The cake will rise above the mug, but don't worry - it's part of the charm.

***

Cakes completed, they were presented to the office. I think they went down well...

I think so.

***

Coming up:

- Hopefully get that promised weekend meal up here. Not sure what it'll be yet

Friday 24 September 2010

Caramelised Peaches And Burnt Hands

As mentioned in my previous blog, I recently bought some mascarpone thinking I'd make something with peaches. It's been in my head for a while since I remembered about a little Italian restaurant I came across in London called Locale where I'd had poached peaches with mascarpone.

Below is my take on the pudding...

***

I decided to caramelise the peaches and sweeten the mascarpone with honey for a particularly sickly dessert. Very little cooking skill involved, so nice and simple, but absolutely delicious.

You will need:


- 4 peaches
- 250g mascarpone cheese
- Clear honey
- Amaretto liqueur (due to it being £13 a bottle, I substituted this for a white wine with peach notes, but the almond flavours of the amaretto would have been preferable.)
- 50g butter
- 150g caster sugar
- Chopped pistachios

Start by preheating the oven to 200°C.

Slice the four peaches in half and remove the stones.


Mix the mascarpone in a bowl with just enough honey to sweeten it. The cheese should break down a little and turn into a smooth paste with enough work - this is the sort of consistency you're looking for. Put the cheese back into the fridge while the rest of the work is done for the peaches.

Making the caramel is the next step. Pour the caster sugar into an oven proof pan (preferably one that has a lid or can be easily covered) and melt it on the hob. Once the sugar is all dissolved add in the butter and stir until it too is dissolved. At this point you should have a viscous, brown syrup into which the peaches should be placed.

Make sure to turn them over regularly to coat them thoroughly in the syrup. After a few minutes the peaches should start to seep their juices into the pan and begin to cook. At this point add just enough of the wine to glaze the pan and continue to 'fry' for a couple more minutes.

Make sure that the peaches are all facing cut side down into the pan before covering and putting into the oven for about 10 minutes to finish baking.

Once the peaches have been removed from the oven they should be very soft and the caramel should be even further reduced and very sticky.

Serve up by placing two halves into a bowl and filling the hollowed centres with a good dollop of the mascarpone in each. Top the lot with a scattering of chopped pistachios and finally drizzle everything with the caramel.

And that's that - about twenty minutes from start to finish.

Just as a wee side note, the leftover caramel can be used to coat apples and left to set overnight for some homemade toffee apples.

***

I should probably explain the burnt hands part of the title to the blog too... embarrassing as it is.

Always remember kids, when you remove a pan from the oven by its handles that it will be very hot. Failure to remember this will lead to a two hour stint in your local minor injuries unit.

Not the best way to spend a Friday evening. I won't forget again...

***

Coming up:

- I still have that Crema Catalana to make, and I'm also aware of the serious imbalance of sweet to savoury dishes I'm putting on here, so I'll try to correct that too.

Saturday 18 September 2010

Anniversary Meal

So, Claire and I just celebrated our third anniversary. As a gift I offered to make a three course meal of Claire's choosing for us to enjoy.

The selected menu was:
- Chicken Goujon Salad with Sweet Chilli Dressing
- Sweet Potato and Halloumi Bake
- Raspberry Meringue Roulade

Below is a blow by blow of how to go about putting this all together. I don't have many pictures due to trying to get it all ready, but I've put the few I do have in to give you an idea of what it should look like (roughly).

***

Seemingly illogically, I started by preparing the sweet potato bake, however it does take the longest of the two first courses to cook. The preparation is simple enough though.

For the sweet potato bake you will need:

- 1 large sweet potato
- 1 large baking potato
- 1 red onion
- 1 yellow pepper
- 1 red pepper
- 4 cloves of garlic
- 4 tbsp oil (I used rapeseed from the Foodie Festival)
- 200g halloumi cheese
- Cracked black pepper

This really is one of the simplest main courses I've ever put together, but it's really fantastic. Cube both potatoes (the baking potato cubes should be slightly smaller as they take longer to bake), slice the onion and peppers into small chunks, and lay all the vegetables into an ovenproof baking dish.

Grind plenty of pepper over the whole lot and toss it all in the dish with the oil until it is all covered. At this point I laid in the garlic so that I could remove it at the end before serving.

Once this is done, the whole lot needs to go into an oven preheated to 200°C for about 45 minutes. When it's ready the vegetables should all be nicely browned and caramelising.

***

While the bake was in the oven, I turned my attention to the chicken goujon salad. To my shame, I decided against making my own sweet chilli dressing due to having so much else to do for the courses. So for this recipe you will need:

- 300g chicken fillets
- 2-3 slices bread
- Plain flour
- Salt and black pepper
- 2 eggs
- Lettuce leaves
- Sweet chilli dressing

Again, this is a really simple dish taking very little time to execute.

Firstly, prepare the chicken by cutting it into thin strips.

Then lay out three bowls, the first containing flour mixed with salt and pepper, the second containing the two eggs lightly beaten together, and finally the third containing the bread which should be crumbed in a blender.

Coat each piece of chicken first in the flour mixture, then the egg and finally making sure to cover the whole piece in plenty of breadcrumbs for a crunchy coating.

Once the strips are all well coated, place them into a hot frying pan and shallow fry for about 2-3 minutes on each side. The breadcrumbs should have browned nicely (my pan was a little too hot!).

Once the chicken is done, take the pan off the heat and quickly arrange the salad leaves (we went for lettuce, though I'd have preferred rocket or something similar) on the plate. Place your goujons atop that and sprinkle liberally with the sweet chilli dressing and serve.

Timing wise, this should leave you about twenty minutes to eat the first course while the sweet potato bake is still in the oven.

***

To finish the main course then, take the dish from out of the oven once the forty five minutes is up and remove the cloves of garlic. Slice up the halloumi thinly and lay it across the top of the dish, making sure to cover all the vegetables.

Place this lot under the grill for about ten minutes until the cheese is browning and starting to bubble. Then remove from the oven and serve up!

***

With the two savoury courses out of the way, I turned my attention to getting the pudding ready.

Thinking about it now, if I'd prepared the meringue in advance I could have sorted the pudding all out just a few minutes after the main course, but I didn't... That did mean that a decent amount of time was left between the main and dessert though, so we were more ready for it when it was done!

Without further ado then, for the rasperry meringue roulade you will need:

- 5 egg whites
- 150g caster sugar
- 2tsp cornflour (or other thickening agent)
- 284ml double cream
- 250g raspberries
- Icing sugar

Preheat the oven to 150°C and line a baking tray (or swiss roll tin if you have one) with baking paper.

Making the meringue is a lot easier than people will tell you - don't worry about it and it'll turn out just fine.

Simply whisk the egg whites together (takes MUCH less time using an electric beater - best kitchen investment ever) until very stiff. At this stage start to whisk in the caster sugar a bit at a time until the mixture is even stiffer, forming peaks when the beaters are removed from the mixture. At this point sieve in the cornflour and beat for just a bit longer.

Once the mixture is sufficiently thick, spread it on to the lined tray to a depth of about 5mm.

Place the whole lot in the oven an leave it for about an hour. The meringue should turn a lovely brown colour and be crisp on the outside, but retain a softer, chewy centre.

Allow to cool while you beat the cream until stiff.

At this point, lay another sheet of baking paper out and dust it evenly with icing sugar. Then turn the meringue out onto the dusted sheet so that the flat side faces upwards.

Spread the meringue carefully with the cream and then lay the raspberries across the top of this.

Finally, and very carefully, roll up the meringue using the baking paper as a support. Expect some cracking!

Mine turned out a little deformed, but it was still really good (if I do say so myself...).

And that was our anniversary meal!

***

The whole lot came to about £14, which is brilliant value when you think that that's a three course meal for two (and the roulade will easily serve 8).

Maybe we'll never eat out again... or maybe we will because that much work every week or so is too much to think about!

Coming up:

- I bought some mascarpone cheese recently with a view to making some poached peaches with a mascarpone centre, so I may or may not get round to that.

- I also have a Crema Catalana recipe that I want to try (like a Spanish creme brulee). So maybe a couple more desserts on the horizon!

Monday 13 September 2010

Dead Man's Bones

Well, we had a few friends coming round last night, and I had been particularly bored the evening before. To alleviate my boredom, and to give everyone something to chew on when they came round, I decided to make a batch of 'dead man's bones'.

This is a recipe I came across in a Maltese cookbook I picked up while on honeymoon in Malta. It is a traditional recipe baked on All Souls' Day (2nd November), and is to commemorate the 'faithful departed'. The BBC have put together a pretty good article on All Saints' and All Souls' Day here.


***

On to the recipe then and what you will need. It is a spectacularly simple cake to make, and requires only a few ingredients (for a batch of 12 -14):

- 4 egg whites
- 1 tsp vanilla (or almond) essence
- 300g ground almonds
- 300g caster sugar
- 250g icing sugar
- 2-3 tbsp water

The first thing to do is to take your four egg whites, put them into a sizeable bowl and beat them until very stiff. The size should also have increased an awful lot.

With the eggs beaten, start to fold the sugar, almonds and vanilla essence into the mixture until you have a very thick, grainy looking dough. It should all stick together in one big ball.

Once the dough is formed, line a baking tray with grease proof paper and start to shape the cakes. Traditionally, these are supposed to be in the shape of bones (hence the name), but this is rather trickier than you'd think, and so instead I made quinelles. Badly.

Stick them in a preheated oven at about 190°C for 20-25 minutes. They should start to brown pretty nicely. They will expand a fair bit too, so best to leave some space between them on the tray.

Once baked, allow the cakes to cool on the tray for maybe half an hour or so. Once cooled, remove from the tray and place on a plate. Once cooled thoroughly, cover and leave to stand for a couple of hours (or overnight).

The next day (or some hours later...), take the icing sugar and start to slowly add the water to it, bit by bit, stirring all the time. To get a good glaze, the icing should cover the back of a metal spoon and not run off. Coat the cakes, allow to set, and serve!

***

This is such a quick, simple recipe and it tastes divine. The cakes come out rather like macaroons, and actually, if you replaced the almond with coconut I would think they would be almost identical. These are a little gooier in the middle though with a crisp outside.

***

Coming up:

- It is my third anniversary tomorrow and I have given Claire free reign to choose a three course menu of her choice to celebrate. She has plumped for chicken goujon salad with a sweet chilli dressing, followed by a sweet potato halloumi bake and a raspberry roulade to finish. I will of course be documenting the whole venture, whether success or failure, so stay tuned!

Friday 10 September 2010

Banana Chocolate Crumble

Below is one of the best tasting puddings I've put together in a while. I hope you enjoy the recipe as much as I did...

***

To make a banana chocolate crumble, you will need the following:

- 5 small to medium sized bananas
- 100g plain flour
- 80g butter
- 40g cocoa powder
- 25g sugar
- 100g nuts (I used cashew, but macadamia would have been preferable. Brazils would also be a decent substitute)
- 1 pack of chocolate cookies (optional, but I wanted a really sweet, very bad for you, but extra crunchy topping)

The first step was to peel and slice the bananas and pile them into an ovenproof dish. I mixed some sugar - extra to what is listed above - into the bananas to help them caramelise as they cooked.

The real work of the dish comes in preparing the crumble topping (though this is still very easy!).

The crumble topping starts out no different from the usual method, with the butter, sugar, and flour being rubbed together to create a breadcrumb like texture. The only extra at this stage is to include the cocoa powder at 'breadcrumbing' stage.

The 80g of butter specified I found to be not quite enough, so I added a bit more... but maybe too much. The consistency of my topping came out more like a cookie dough (using about 120g butter), though this proved to be very nice once it had baked.

Once the butter, sugar, cocoa powder and flour had combined, I added in the cashew nuts, roughly chopped, and two crushed chocolate cookies.

Taking the finished crumble mixture, I spread it on top of the bananas before putting the dish into the oven - preheated to 190°C.

The pudding should stay in the oven for 35 minutes (by this point, the crumble should have browned very nicely and the bananas should be bubbling away under the surface).

Stand the whole thing for five minutes and then serve...

It is particularly sweet and very filling, and I should think would probably be good with custard. I'm sure I'll be making it again once winter starts to draw in - a good, stodgy, warm pudding. So simple - you have to give it a shot...

***

Coming up:

- No plans... let's just see what happens!